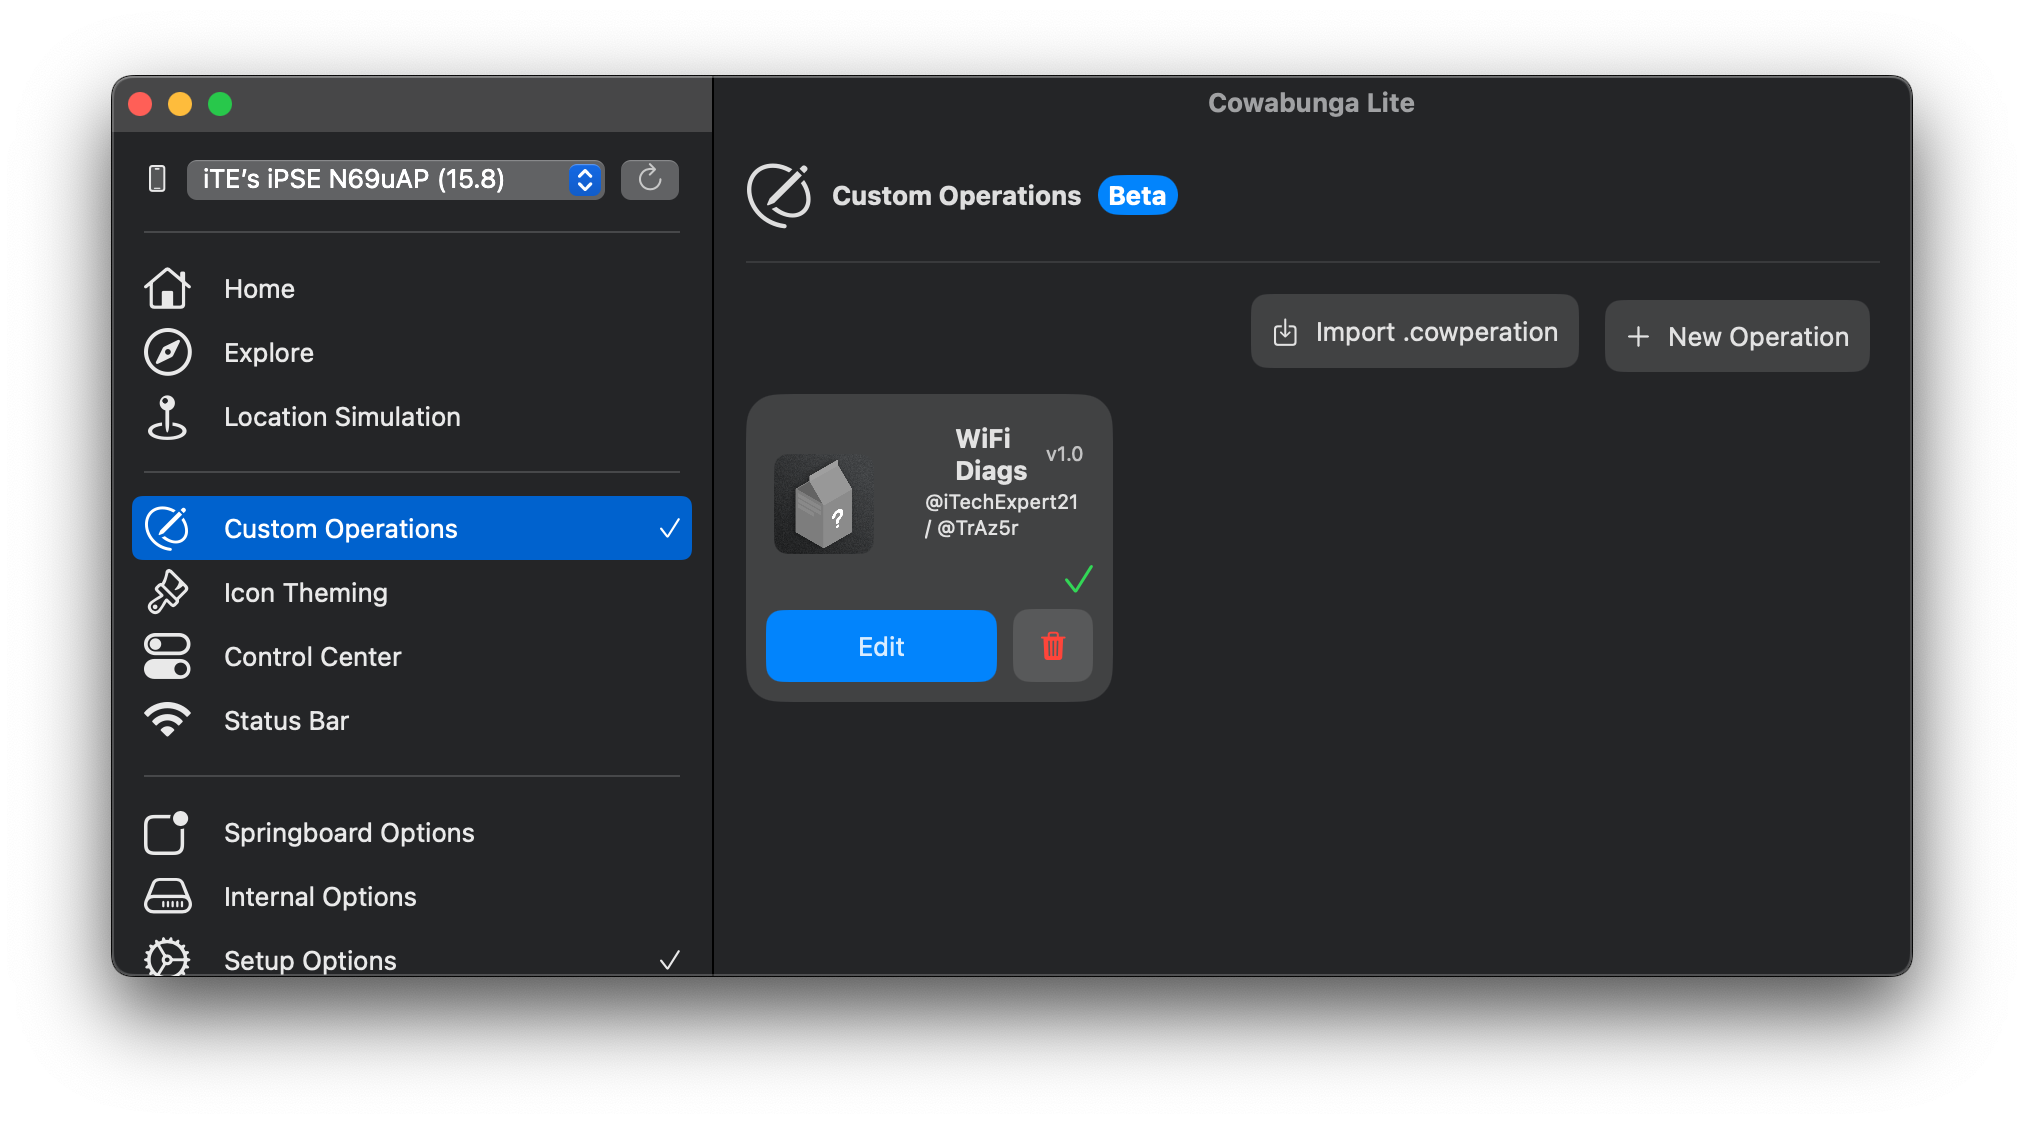
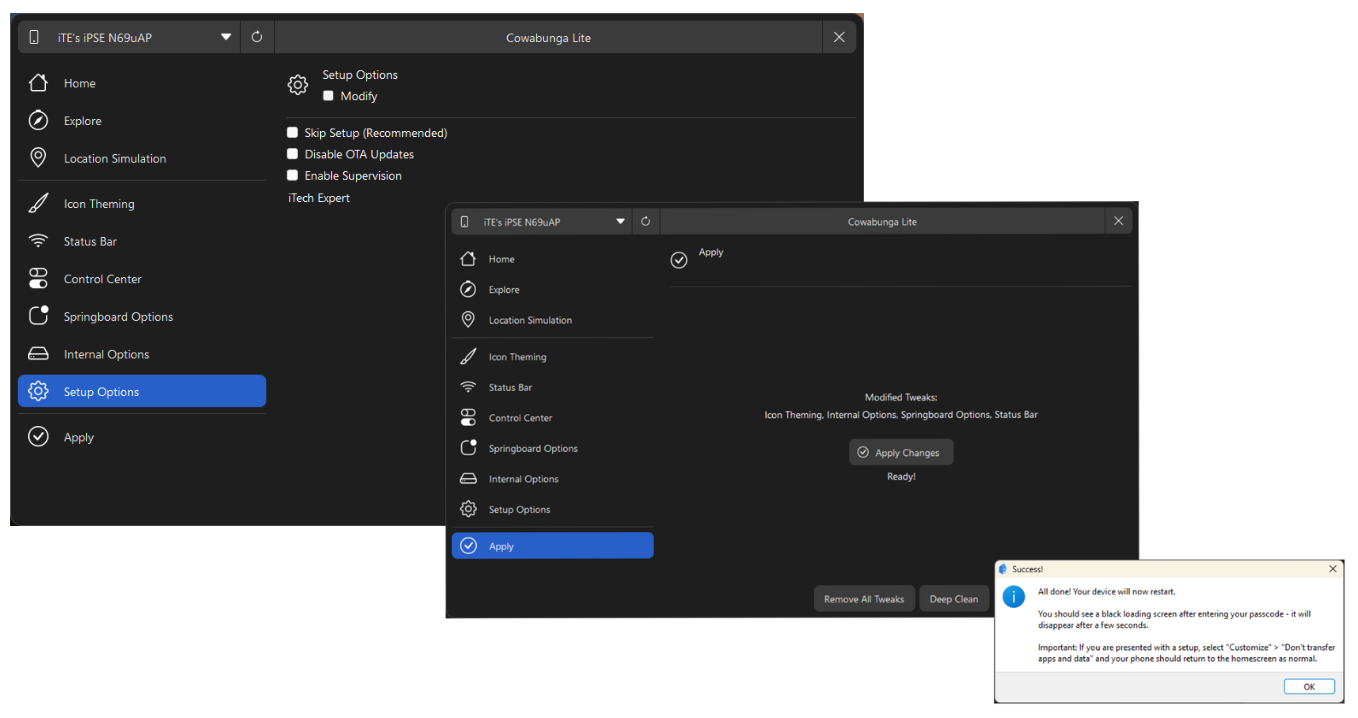
i18 Tutorials

i18 Tutorials

Important Notes:

I would like to give a thanks to @TrAz5r on Twitter for sharing the key in the com.apple.wifi file with me.

This tutorial teaches you how to get:
- The New Siri UI on the iOS 18.0 beta; however, Apple patched it in beta 2. So, it's now only available to get in iOS 18.0 beta 1, unless Apple releases it in the future betas for all devices.
- The old Photos app UI (found in iOS 17 and below) on the iOS 18 beta.

Since the tutorials for each mod is the same, I've decided to create a single tutorial but it can be used for all mods.

Instructions:

Step 1:

Run CL, and connect your device. Disable Find My and iCloud Backup on your device. Read important messages if you haven't already, and backup your device first before making any changes, just so you have a backup of your device just in case anything goes wrong.

Step 2:

Open CL, navigate to "Control Center," and click on "Modify" to enable it. If you have enabled the option to hide the enabled modules, you can disable it, but ensure the "Modify" button in this section remains enabled.

Step 3:

If you're using macOS, skip this step. If not, follow these steps: Open File Explorer, click on the address bar, and go to: "%APPDATA%/CowabungaLite/Workspace" Find your device's UDID folder and open it. If you have multiple devices, and you're unsure about which folder to open, I would recommend you to download the profile below, and grab your UDID, so you know which folder to open and use.

Step 4:

Download the mod you want, open it, then move the folder to your desktop and open it.

If you're using macOS, skip to step 5 after downloading the files. Otherwise, open your UDID folder and replace the 'ControlCenter' folder with the one found in the Windows INSTALL folder. Now, proceed to step 5, as step 4 is specifically for macOS users.

To remove the new Siri UI, simply just use the REMOVE folder instead of the INSTALL folder, then continue following the remaining steps.

Step 5:

Open CL, navigate to the Custom Operations section, click on "import .cowperation", open the INSTALL folder, then select the file in the macOS INSTALL folder, then click "edit" and enable. Next, open the "Setup Options" section and disable it, then proceed to step 5.

Step 6:

Go to the 'Apply' section and click 'Apply Changes' *or if on macOS, Apple Tweaks). Ensure the 'Setup Options' section is turned off to keep your config profiles. For more information about this, please refer to the FAQ for CL. Now, navigate to the "Apply" section and click "Apply Changes" (or "Apply Tweaks" if on macOS). On your device, it will show "Restore in Progress." After the device restarts, you'll encounter the setup screen. Simply setup your device, and follow the instructions to set it up.

if you see the "Apps & Data" page with the "do not transfer data" option, select it and continue following the remaining steps.

If you're on iOS 17.2 or higher, you will encounter a new page during setup named "iPhone Partially Setup". On this screen, you'll find two options at the bottom: "Erase and Start Over" and "Continue with Partial Setup". Please select the option below, NOT the first one.

Copyright © 2024 iConfig Hub. This website is not affiliated with Apple Inc.